Step-by-Step Manual Installation
1. Access the Website and Download the Driver
a) Open a web browser and go to the Silicon Labs website:
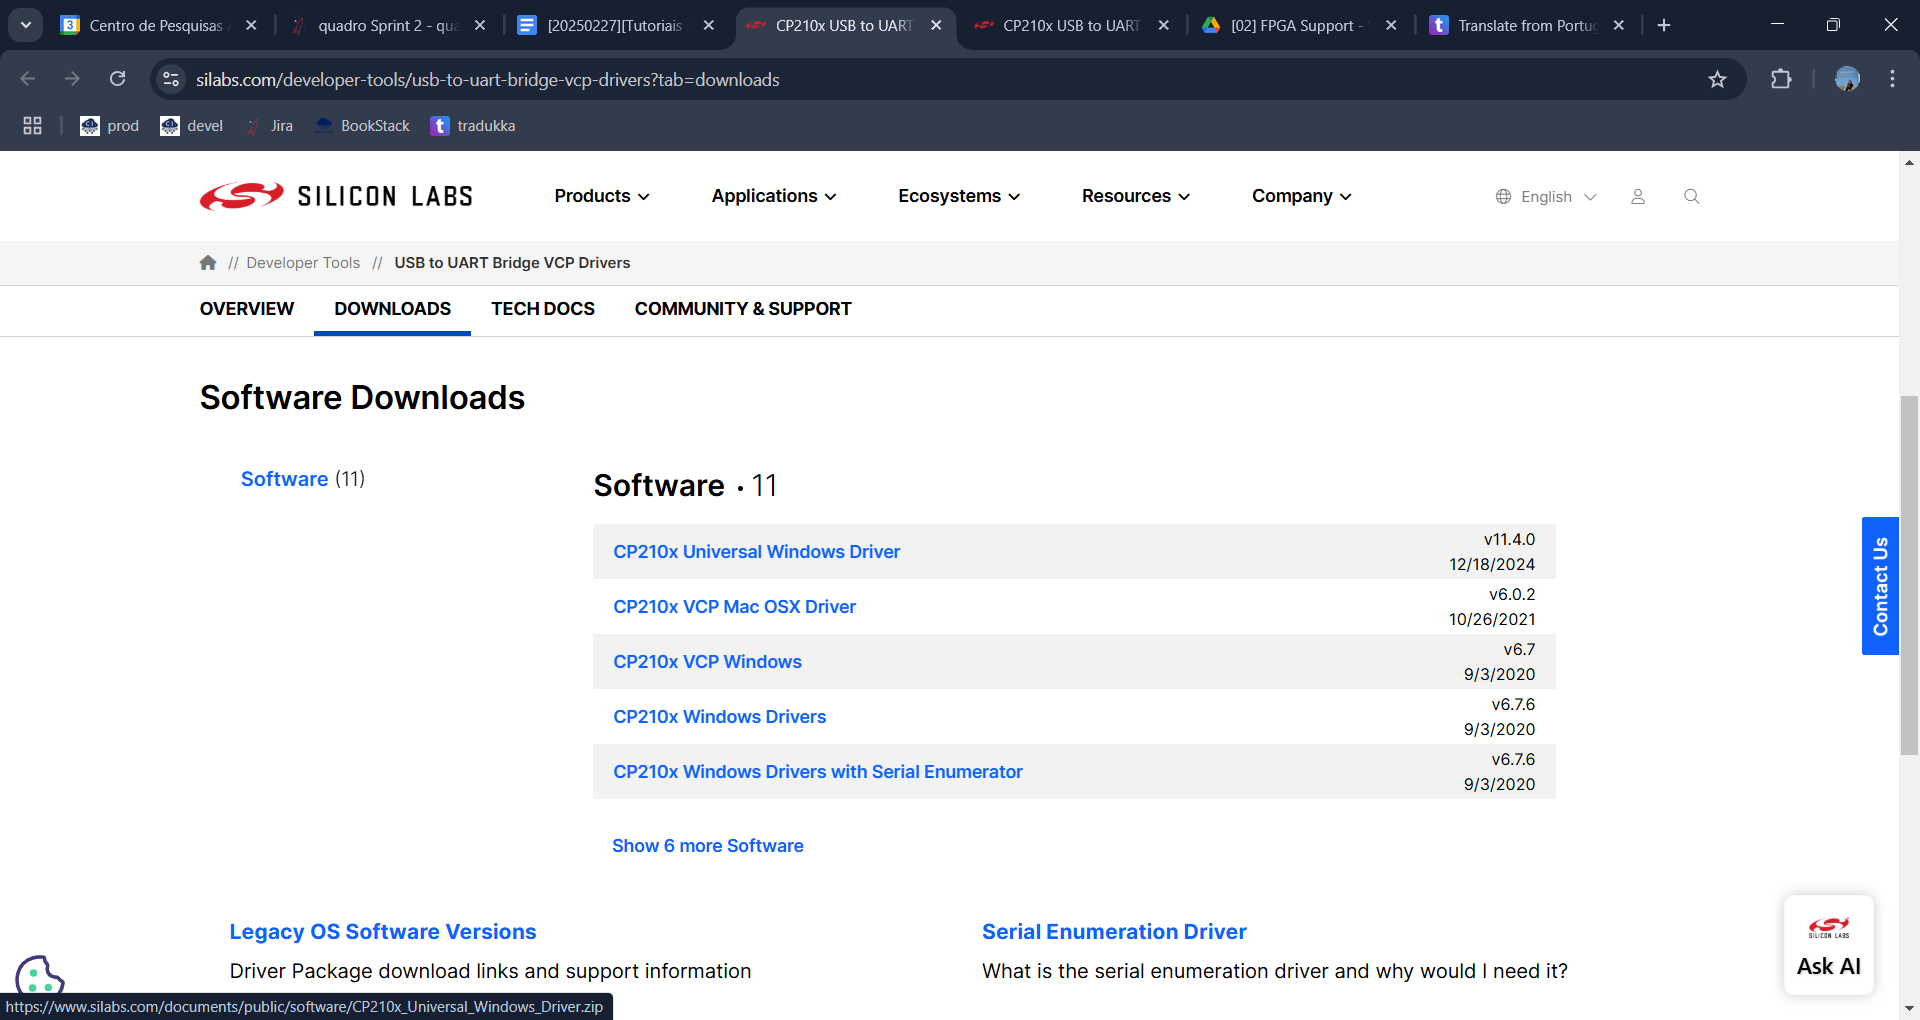
b) Locate the Windows driver version and download the corresponding ZIP file.
2. Extract and Install the Driver
-
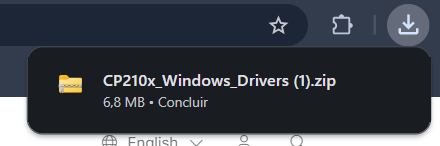
Find the downloaded ZIP file in your downloads folder.
-
Extract its contents to an accessible folder, external to the zip you downloaded.
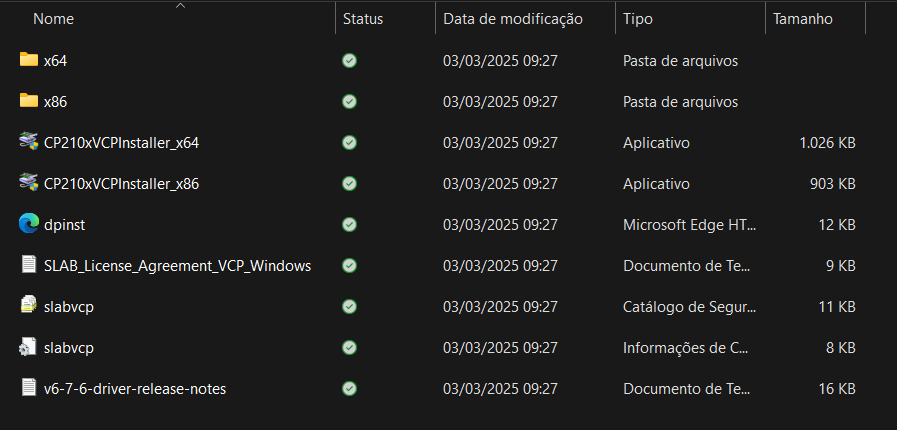
a) Inside the extracted folder, run SilabsVCPInstaller_x64.exe (for Windows 64-bit) or SilabsVCPInstaller_x86.exe (for Windows 32-bit).
b) Follow the on-screen instructions:
-
Click Next.
-
Accept the license terms and click Next.
-
Choose Complete and click Install.
-
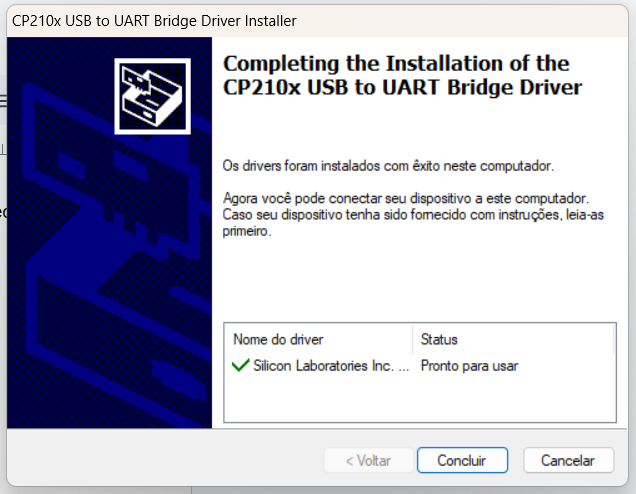
Wait for the installation to complete and click Finish.
-
If everything went correctly, the device should appear this way in your device manager:

3. Manually Update the Driver (If Necessary)
If the device is still not recognized correctly:
-
Open Device Manager (Win + X → Device Manager).
-
Find the device with the yellow warning icon.
-
Right-click it and select Update driver.
-
Choose Browse my computer for drivers.
-
Navigate to the folder where the driver files were extracted.
-
Select the folder and click Next.
-
Wait for the installation to complete and restart the computer if necessary.
4. Conclusion
By following this procedure, the driver for the Dev Chip Board USB Serial Converter will be correctly installed, allowing seamless communication with the computer without errors. The message “ChipLoader is Ready!” must appear in the Synthesis tab in ChipInventor.
No Comments