Simulating the Project
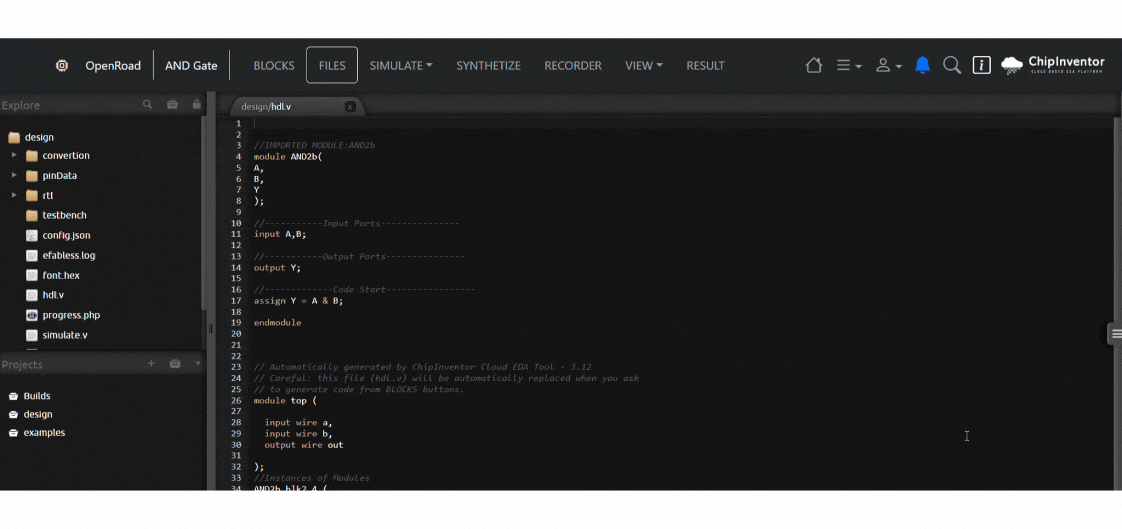
2. The Verilog code will load automatically.
3. Click Run to execute the simulation:
- Use the interactive menu to change the input values (a and b).
- Observe the output (out) to verify the behavior of the AND gate.
4. Inspecting Signals
- Hover your cursor over a wire in the circuit, and a magnifying glass icon will appear.
- Click on the wire to visualize the signal waveform for that specific connection.
- To compare signals, click on another wire. The tool will display both signals in the same graph for side-by-side analysis.
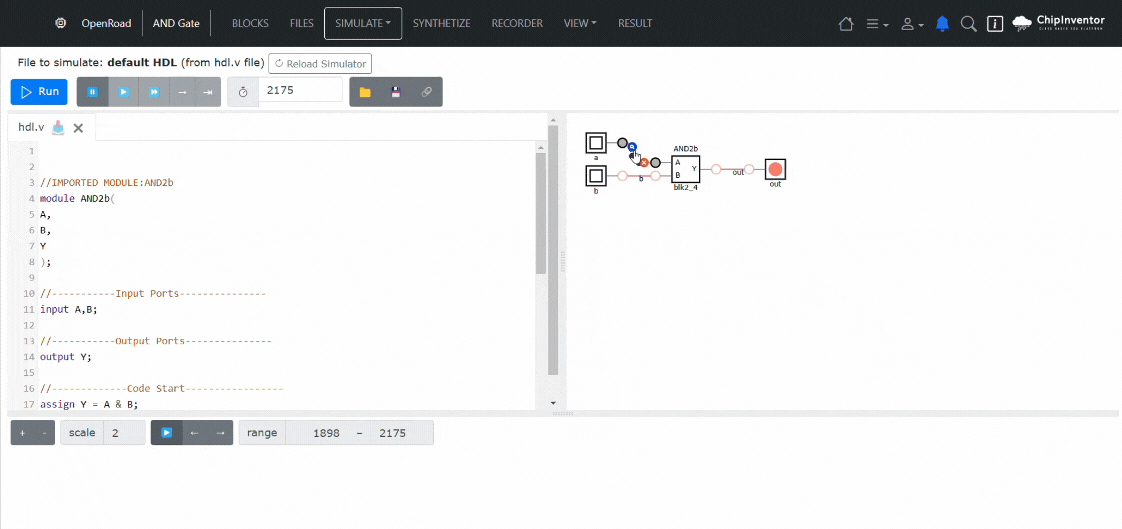
5. Adjusting GraphsYou can use the graph controls in the lower menu to adjust the speed and position of the waveform display. You can adjust this menu by clicking and dragging on its top edge.
-
- Scale: Modify the simulation speed to slow down or speed up the signal playback, enabling detailed analysis of transitions and behaviors.
- Range: Scroll through the time axis to focus on specific parts of the curve, making it easier to study signal changes and timing.
6. Advanced Simulate
For further exploration, select Advanced Simulate and use tools like Run Iverilog to check for code errors.
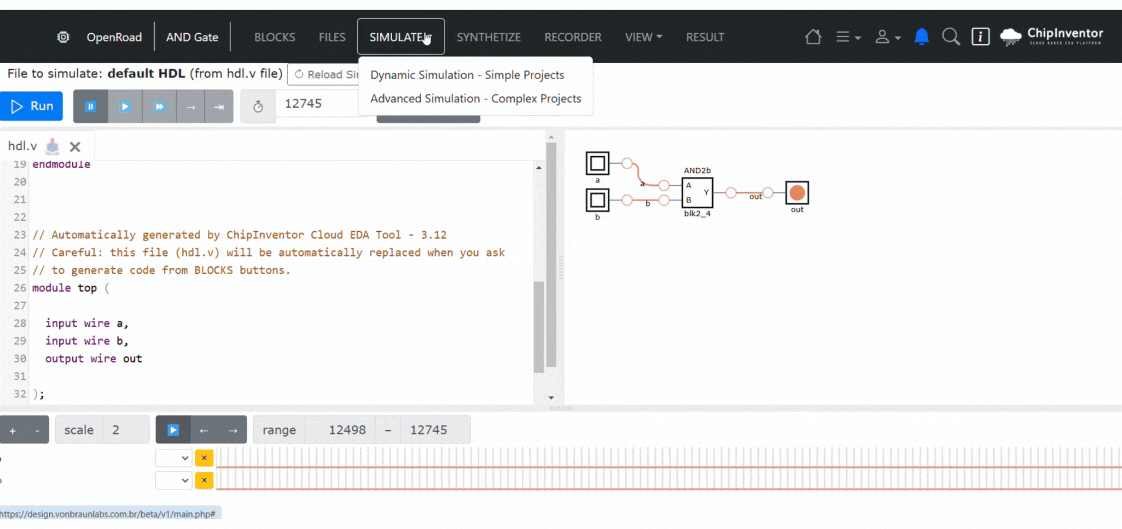
The Advanced Simulate option provides additional tools for in-depth circuit analysis, including error checking, detailed debugging, and timing verification. These advanced features will be covered in future tutorials, where we’ll explore their functionality in more detail.
No Comments